vrijdag 29 november 2013

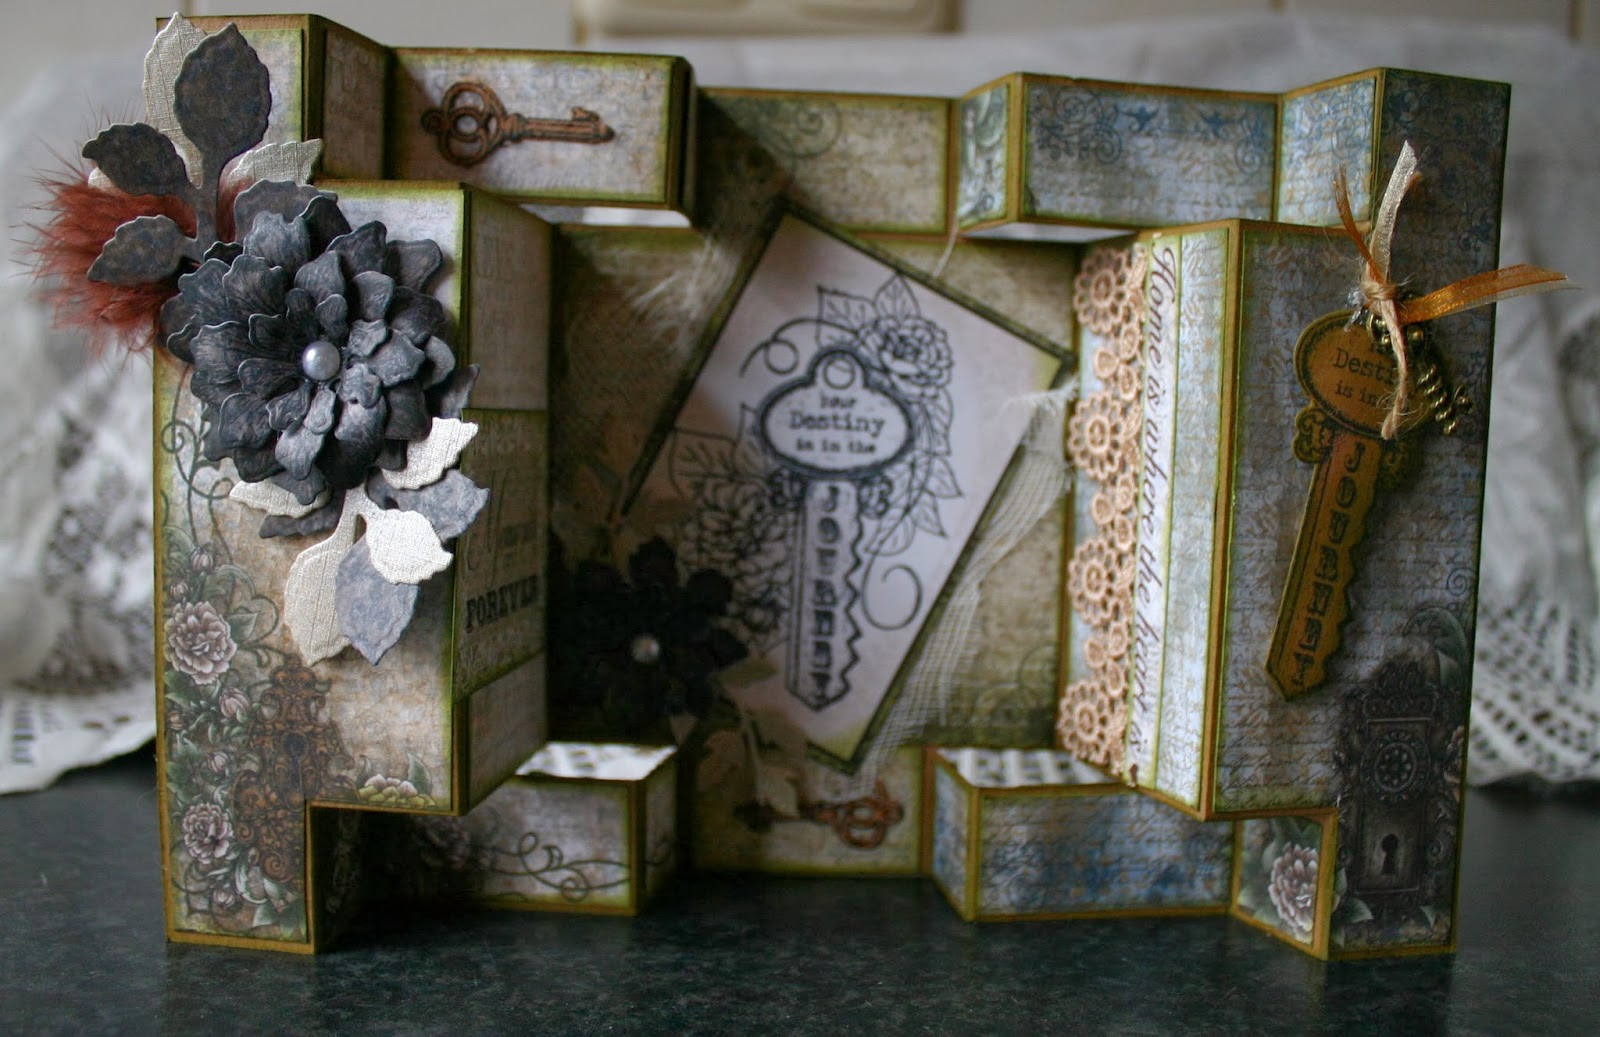
2 DT projects with the Floral Key Collection :)


Project Instructions:
Other products: brown Card stock (CS), peeled paint distress ink, hot glue gun, flatback pearls, lace, cutting knife

Instructions: Cut a 30 x 15 cm piece of brown cardstock and follow the instructions of folding and cutting from the template. Sponge the edges with peeled paint distress ink. I have used 3 paperpads from the Floral Key Paper Collection. First one was cut in pieces and added to the right side of the card. Second one was cut in pieces and added to the left side and the third one was used for the center of the card. Choose a die cut from the Floral Key Paper Collection, use the key stamp from the Journey of Love Keys PreCut set and adhere it to the center of the card front with some bandage beneath the die cut. Choose another die cut from the Floral Key Paper Collection and add it to the left of your card. I also cut the text "home is where the heart is" and put it on the right with some nice lace ribbon. Cut and emboss 4 Classic Leaf Dies and place them under your flowers. Cut and emboss from the Tattered Blossoms Die some flowers, ink it with Tattered Blossoms PreCut Set and glue the flowers in layers and add a flatback pearl in the center. From the Burnished Key Die Set I used 2 small keys and the bigger one and placed them on the card. Add some cute key embellishment with ribbons and you are done.


Project Instructions:
Other products: ribbed cardboard, vintage photo distress ink, hot glue gun, flatback pearls, lace, button, feathers, ribbon

Instructions: Use a paper gift bag. Sponge the edges with vintage photo distress ink. Choose 2 nice papers from the Floral Key Paper Collection and cut them in the right size to fit your bag. Use one for the front and one for the back. I have distressed the edges of the front paper with my 3D scissor. Ink all the edges with vintage photo distress ink. I folded the right corner of the front paper and glued it. Also cut a small piece of ribbed cardboard and place it under your front paper in the right corner and put a button on it. Choose a die cut from the Floral Key Paper Collection, use the key stamp from the Journey of Love Keys PreCut set and adhere somewhere where you like it. with some bandage beneath the die cut and add a cute lace ribbon on the bottom of the die cut. Choose another die cut from the Floral Key Paper Collection and add it also on your bag. I placed a cute little key embellishment on it.Vintage Wish Gift Bag The bows on top of the bag was made with several lace, 2 feathers and ribbons using the mini bowdabra. Cut and emboss 5 layers of the Vintage Floret Die, ink it with Vintage Floret PreCut Set and add glue them together. Cut and emboss 2 small flowers from the Tattered Blossoms Die, ink it with Tattered Blossoms PreCut Set and glue the flowers.

zaterdag 23 november 2013

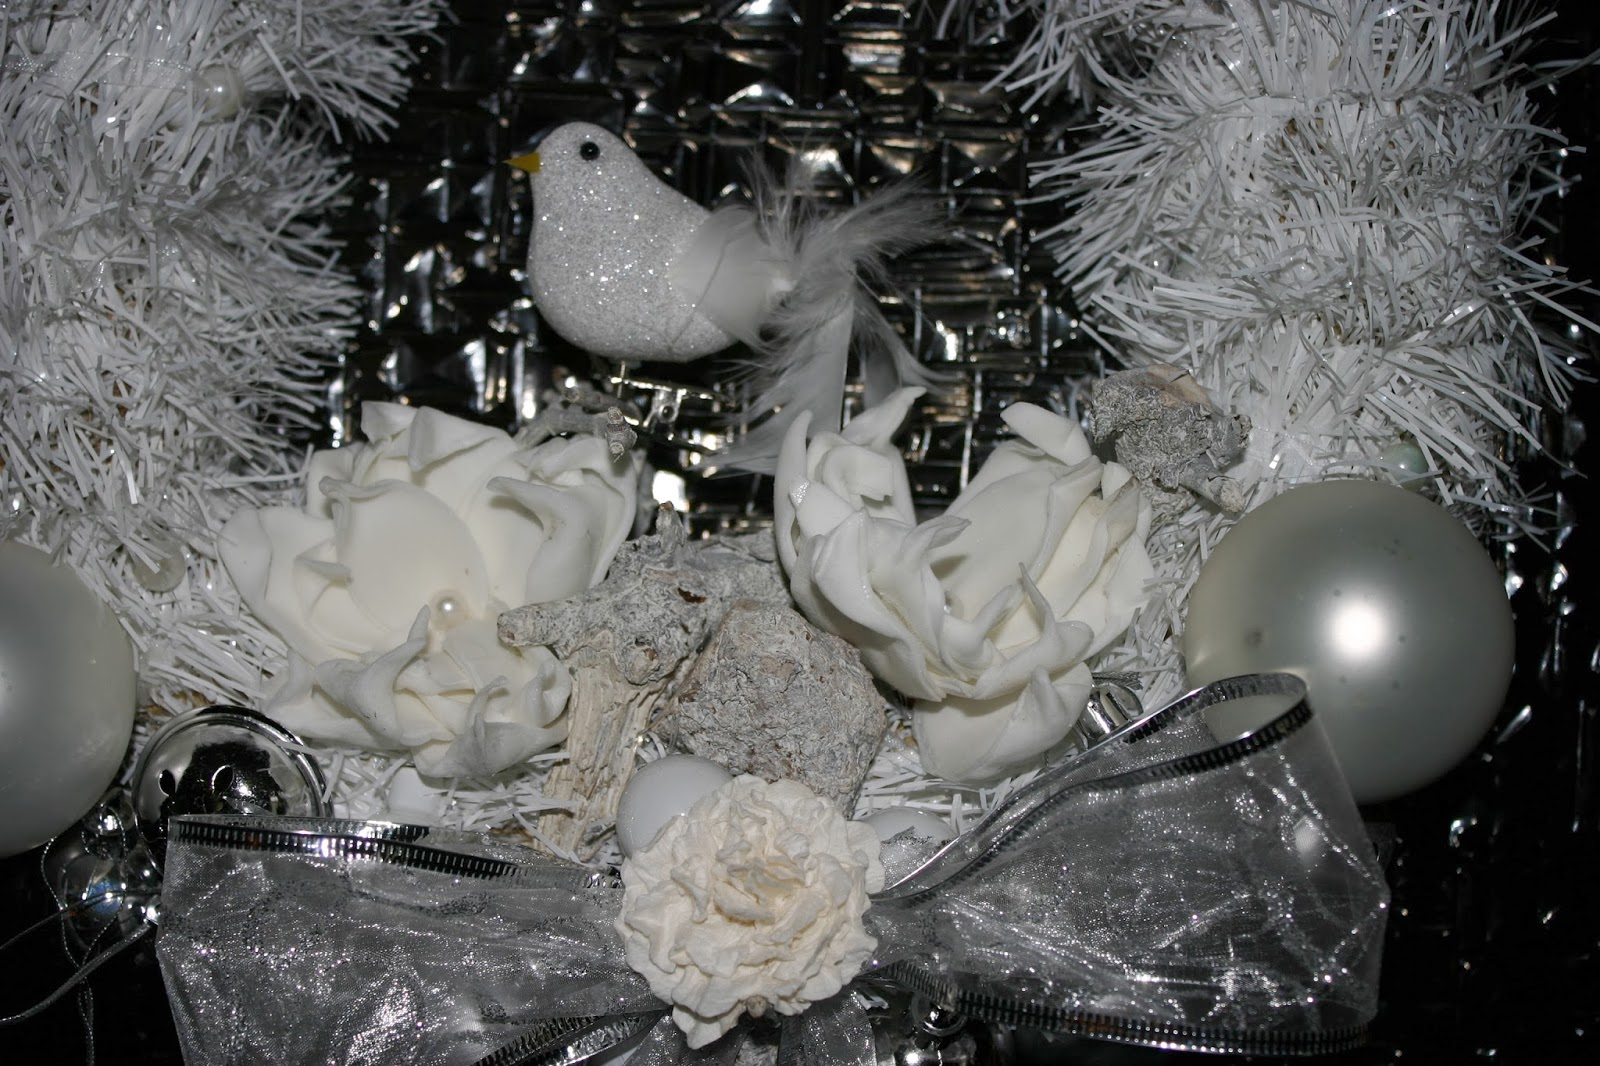
Some Xmas Decorations I made this week

Christmas is always my favorite time of the year so I just couldn't help myself and already started to make some xmas creations:)


woensdag 20 november 2013

DT card for Heartfelt Creations Nov.20

here's my DT card for this week


Project Instructions:
Other products: Brown Card stock (CS), vintage photo distress ink, hot glue gun, flatback pearls, white acrylic paint, black memento ink

Instructions: Fold a 30 x 11 cm piece of brown cardstock and fold it to make a 15 x 11 cm card. Sponge the edges with vintage photo distress ink. Choose a card panel from the Vintage Floret Paper Collection and adhere it to the center of the card front. Cut the Decorative Leafy Frame Die in brown CS and ink them with black ink and use the Vintage Floret Frame PreCut Set. Cut a circle and adhere it at the back of the frame die and stamp the text you like. Adhere the Leafy frame with 3d foam pads. Cut and emboss 2 Classic Leaf Dies and ink it with the Classic Leaf PreCut Set and place in the top right corner. Cut and emboss from the Vintage Floret Die 5 flowers, ink it with Vintage Floret PreCut Set and glue the flowers in layers and add a flatback pearl in the center. Glue the flower on the corner with the hot glue gun. Do this also for the 2 smaller flowers. With a small brush you paint the edges of the leaves and flowers to give them a "shabby" look.

woensdag 13 november 2013

2 new projects for Heartfelt Creations for this week


Products Used:
HCPC 3354 Classic Message PreCut Set
HCPC 3468 Tattered Blossoms PreCut Set
HCD 722 Tattered Blossoms Die
HCD 702 Decorative Butterfly-Border Die
HCDP1 226 Delicate Asters Paper Collection

Project Instructions:
Other products: Lila and purple Card stock (CS), dusty concord distress ink, hot glue gun, lace
Instructions: Fold a 27 x 13, 5 cm piece of lila cardstock and fold it to make a 13, 5 x 13, 5 cm card. Sponge the edges with dusty concord distress ink. Add a 12 x 12 cm purple CS to the center of the card front. Choose a card panel from the Delicate Asters Paper Collection, cut in 4 equal pieces (6 x 6 cm) and adhere it to the center of the card front. Cut and emboss the 2 smallest flowers in lila CS from the Tattered Blossoms Die and ink them with dusty concord distress ink and use the Tattered Blossoms PreCut Set. Cut and emboss from the Decorative Butterfly-Border Die the corner and ink it also with dusty concord distress ink and place in the top right corner. Glue the flower on the corner with the hot glue gun. Cut and emboss from the Decorative Butterfly-Border Die the butterfly, ink it with dusty concord distress ink and place in the center of your card and add 3 tiny flatback pearls.
For the inside of the card I cut a triangle and distressed the edges with my 3D scissor and inked it with dusty concord distress ink. I used a piece of lila lace for the edge and glued it with the hot glue gun. Choose a die cut from the Delicate Asters Paper Collection and add a nice stamp text. I used the Classic Message PreCut Set. Add a tiny flower in the corner of your triangle.


Products used:

Project Instructions:
Other products: Ranger distress ink vintage photo, leaves die, creme lace, Joy! Crafts - Noor! Design Vintage Borders swirl leaves, free clock printable, vintage buttons, gauze bandage, Joy! Crafts -Cutting & Embossing stencil round nr. 1
Instructions: I have printed a card shape (the base card and a smaller one) and cut it from kraft paper. The size of the card is about 12 x 12 cm. I cut the 2 tickets from the paper collection and added the clock. The bow was made using the mini bowdabra.

woensdag 30 oktober 2013

Sooooo Proud! :)

The last few weeks have been so exciting..............waiting for the winners of the DT Team of Heartfelt Creations and I can proudly announce that I made it!!
Thank you for letting me be part of this great team.I can't wait to get started and I am looking forward for the 6 months to come :))

Hugsss Sandra


dinsdag 29 oktober 2013

Heartfelt Creations Semi Finalist!

I didnt know if it was allowed to post so I am a bit late with this announcement:

YES I made it to the SEMI-FINALISTS at Heartfelt Creations! I am so proud and excited that I made it this far:)))

I really love their products they are awesome to work with.but right now I really really need your support: please vote for me here ( I am Sandra ten Wolde by the way :))

Here is what you need to do
Vote for your favorite Semifinalists: We would love to have you participate and vote your 5 favorite semi-finalists. Review each one of their blogs from here and then follow the instructions to submit your vote. When you vote, you will also be entered into a drawing to be eligible to win a $50 HC Gift Certificate. You can only vote one time and you have to select 5 or more to be eligible to participate. Voting ends on October 18th, 2013

Vote for your favorite Designers: When we announce a new design team call that also means that we have a tough time deciding which of the current designers continue on the HC design team. We are giving you the opportunity to get involved and vote for 5 or more of your current favorite design team members. You can CLICK HERE and submit your vote. When you vote, you will also be entered into a drawing to be eligible to win a $50 HC Gift Certificate. You can only vote one time and you have to select 5 or more to be eligible to participate. Voting ends on October 18th, 2013

These are the 2 projects for my application:

My first project is a Birthday card.
Antiquity Paper Collection


My second project is a Thealight box card

Antiquity Paper Collection


I hope you enjoyed visiting again and PLEASE vote for me :)))


Altered mini box


A little while ago I got this cute small wooden "book" box from a friend and yesterday I had some time to alter it :)