woensdag 29 januari 2014

2 new DT projects for this week :)


Project Instructions:
Other Products: Green and orange card stock (CS), vintage photo distress ink, flatback pearls, hot glue gun, black memento ink

Instructions: Cut a 21 x 15 cm (8,3 inch x 5,9 inch) card base from green cardstock. Cut a piece of patterned paper from the Majestic Morning Paper Collection slightly smaller than the base. Cut another piece of orange cardstock smaller than the patterned paper. Choose of one the beautiful die cuts, ink all the edges from all the papers you just cut, and use one of the text stamps from the Classic Message PreCut Set. Glue the papers together, but do not glue to the card yet. Before you glue it to the card, add a small piece of organza ribbon first at the left side of your card and choose a die cut you want to use for the right side. Cut the 2 little corners from the Classic Message PreCut Set and adhere them first to your card before you add your other papers. Cut and emboss some flowers from the Majestic Blooms Die and ink the edges of the flowers. Decorate your card with 2 flowers and some leaves and the flatback pearls and you are done:)


Project Instructions:
Other Products: Card stock (CS), vintage photo distress ink, hot glue gun, lace, black memento ink, ribbon, raffia, white acrylic paint

Instructions: For this project you need an empty soup can :) First I painted the outside of the can with white acrylic paint. Before you glue the outside paper cut a piece of paper first for the "inside" where the folded opening will be. (Ink the visible edge first.) Cut a piece of paper from the Majestic Morning Paper Collection, ink the edges, and adhere it around your can but do not glue the parts you need to fold. Fold the paper with your fingers or a tinsel. Glue some nice lace on the top edge of your can. Once dry, ink the edges again. For the bottom I used 2 sorts of lace. I first surrounded the bottom with brown lace and then with creme lace. Now you can cut and emboss several flowers from the Majestic Blooms Die and ink them with the Majestic Collage PreCut Set. For the leaves, I used the Delicate Asters Die and the Ornamental Add On Die. I also used two small die cuts, add them together with a small piece of organza ribbon, and glued them to the can. Decorate your can to your own needs :))


woensdag 22 januari 2014

Heartfelt Creations DT time again :))

This time I created a cute little drawerbox with card, made with matchboxes and chipboard using the wonderful Majestic Morning Collection. :)


Project Instructions:
Other products: Card stock (CS), vintage photo distress ink, acrylic flowers, pearlen pen, hot glue gun, lace, black memento ink, ribbon, matchboxes, chipboard

Instructions: For this project you need 4 matchboxes and 2 pieces of chipboard of 5,6 x 5,9 inch. Cut 2 pieces of paper and glue it to the chipboard( bottom and top)ink all the edges with vintage distress ink. Cut matching pieces of paper for the inside of the matchboxes and the sides. Glue them all and ink all the edges of the matchboxes. Glue the 4 matchboxes on the bottom of the chipboard and once dry, glue the other piece of chipboard on top of the matchboxes. Cut a piece of cardstock of 10 5/8inch and fold it this will be your card. Ink the edges first. Before you glue the card make sure you adhere a piece of ribbon first under your card. Cut a smaller piece of designpaper of the Majestic Morning Paper Collection and use the Majestic Morning Background PreCut Set. Before you glue it make sure you adhere the second piece of ribbon first( so this will be between your card and your piece of design paper)that way you can close your card by making a bow:) Cut and emboss several flowers using the Majestic Blooms Die and ink them with the Majestic Collage PreCut Set. For the leaves I used the Ornamental Add On Die. Decorate your card with the flowers, lace bow, leaves,die cut or anything you like :) For the inside of the card I made 2 triangle shaped pockets for the left and right so you can put a giftcard in it or money or anything small:)

woensdag 15 januari 2014

Recap of the Majestic Morning Collection

Recap of the Majestic Morning Collection 


Project Instructions:
Other products: Orange Card stock (CS), vintage photo distress ink, dusty concord distress ink, peeled paint distress ink, hot glue gun, lace, black Memento ink

Instructions: Cut a 6 x 6"card base from an orange cardstock. Cut a piece of patterned paper from the Raindrops on Roses Paper Collection slightly smaller than the base. Cut another piece of design paper in a triangle shape and place it in the left corner on top. Cut another triangle from the same patterned paper and adhere on the inside of your card so you can use it as a pocket. Cut and emboss some flowers from the Majestic Blooms Die and ink the edges of the flowers. Before placing all the decorations to your card first use the wonderful Majestic Morning Background PreCut Set stamp as a background. Cut and emboss the large edge from the Fleur de Lis Doily Accents dies and make it fit to your card. Cut the Fancy Lattice and use just a small piece to place on the left bottom corner. I also inked these edges. Choose some diecuts you like from the Raindrops on Roses Paper Collection and adhere them to the left. For the inside of the card Iused the Adorning Squares die, inked the edges and used a die cut again from the Raindrops on Roses Paper 

woensdag 8 januari 2014

New Release: the Majestic Morning Collection!

Finally it's there the first new collection of 2014:   the Majestic Morning Collection!

so much fun again to work with the beautiful materials :)))

For a very limited time Heartfelt will be be offering a card kit with this collection. See it Here

here's what I made for this week :))


Project Instructions:
Other Products: Brown Card stock (CS), vintage photo distress ink, hot glue gun, lace,

Instructions: Start by making a small box that fit the Post-it notes. Cut the cardstock 6" x 4", and score 1/2" in on all four sides. I used the Majestic Morning Paper Collection for both inside and outside the box. Patterned paper strips - 3/8" x 4 7/8" (x4), & 3/8" x 2 7/8" (x4). Inside the box I fasten the short paper stripes. Then make the box ready before adding the last paper stripes using the Majestic Morning paper Collection. This way it will cover up the tabs on the box. For the card - Start with a 12" x 6" cardstock. Find the middle of the cardstock, and score a 1/4" line out from the middle to both sides. This will make a 1/2" back on the card, and your card will stay flat when you close it. Now score a line in the middle of one of the large areas, and the shape of the easel is finished. Decorate all areas on the inside with patterned paper and do the same on the outside. Now it is time to make and decorate the front. My front is a 12,5 cm x 12,5 cm square(brown CS), but you can use any size and shape you like. Choose one of the designs you want to use and cut one of the beautiful Die Cuts and put lace around it. I use tape only on the lower part, and fasten the front to the easel. I use double sided tape to fasten the Post-it notes to the box, and the box to the easel.

NOTE: Since I could not find a post-it block with the right size, I used a small note pad book and adjusted the size of the box. Here is the original tutorial.


Project Instructions:
Other products: Some kind of triptych, spiced marmelade distress ink, hot glue gun, flatback pearls, lace, pearlen pen, black memento ink, HCD 702 Butterfly border die (disc.)

Instructions: This time I altered a MDF triptych using the beautiful Majestic Morning Paper Collection. As usual I inked all the edges of the 3 MDF parts with spiced marmelade distress ink. Then with a pencil I drew all the shapes and cut them out and also inked the edges of the paper. Cut from the Decorative Chateau Gate Die 3 windows and cut off the swirley top and ink the edges and use them on the left side of your triptych. Use the side swirls for the right side of the triptych. Cut from the Decorative Butterfly-Border Die the corner 1 time. Choose some Beautiful matching Die Cuts from the paper collection and place them anywhere you want. From the Beautiful You PreCut Set I used the 2 text stamps. Cut and Emboss flowers from the Majestic Blooms Die. It does not show very well on the photos but I sprayed the flowers first with glimmer mist and then layered the flowers. Decorate the triptych in any way you like.

woensdag 1 januari 2014

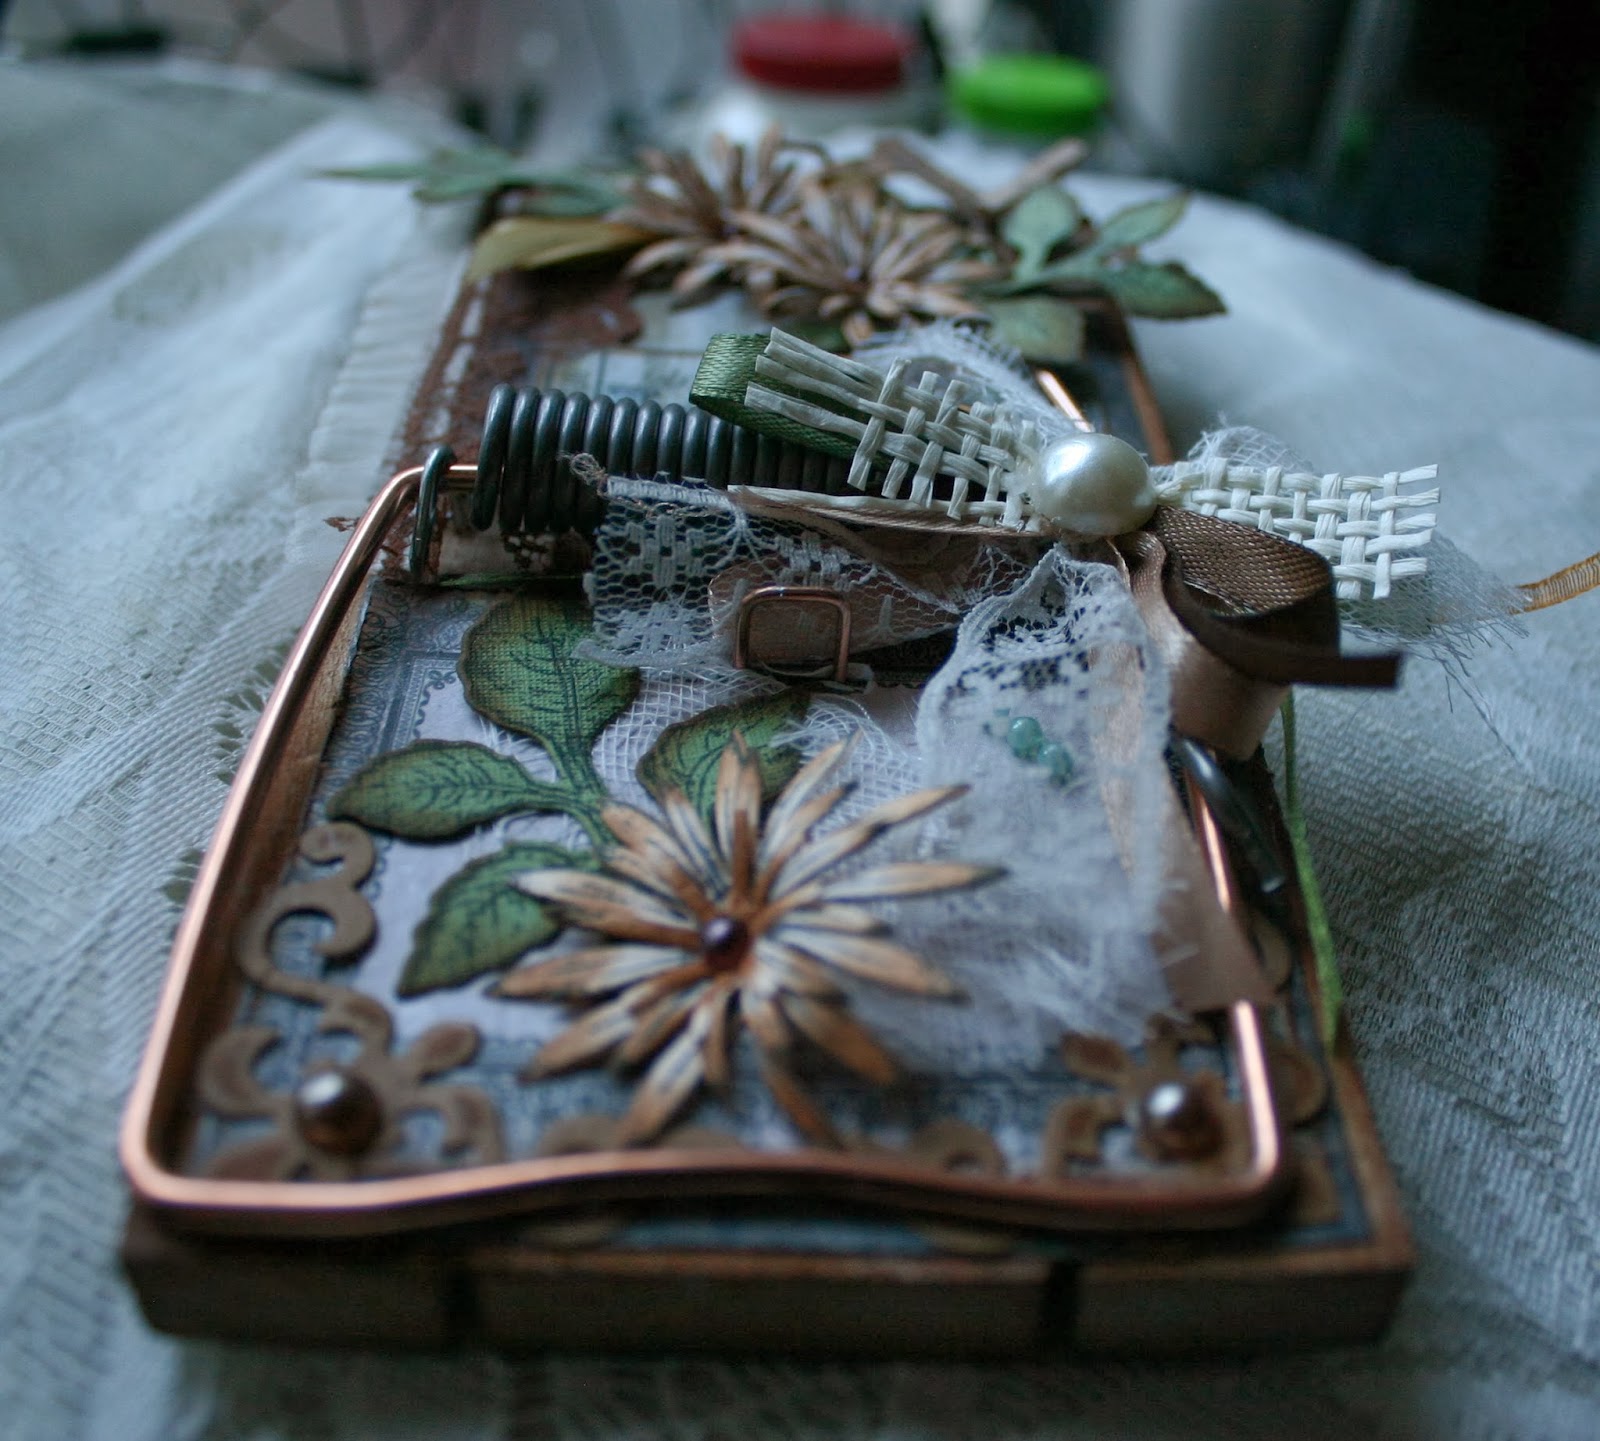
Heartfelt Inspirations................Altered Mousetrap

I know...........the title says mousetrap but actually I used a rat trap cause it's bigger 
and easier to work with :P


Products Used:
HCDP1 238 Floral Key Paper Collection
HCD 736 Classic Leaf Die
HCPC 3546 Classic Leaf PreCut Set
HCPC 3545 Open Leaf PreCut Set
HCPC 3494 Delicate Asters PreCut Set
HCD 726 Delicate Asters Die

Project Instructions:
Other products: Vintage photo distress ink, hot glue gun, lace, glue, flatback pearls, 3dfoam glue pads, mini bowdabra

Instructions: This time no card but something totally different... an altered rat trap. Ofcourse you can also use a mousetrap but this one is larger thus easier to work with. Before I added the paper to the trap I inked the edges first of course with vintage photo distress ink. Then I choose some lovely papers from the Floral Key Paper Collection. I used one for the background and added one layer on top. Once you glued the paper you can decorate to your own needs:) The bow was made with different materials using the mini bowdabra. For the flowers I cut and embossed the cute Delicate Asters Die.