Posts tonen met het label Kaarten. Alle posts tonen

dinsdag 8 september 2020

Go to the beach

 Hallo allemaal :)

De zomer mag dan weer tegen zijn einde aan lopen...............

In collectie 8 van Joy!Crafts zitten hele leuke zomerse produkten waarmee je een vrolijke vakantiekaart kan maken.Dus kun je stiekum toch nog een beetje nagenieten :)


ook voor deze kaart heb ik weer gekozen voor de papierset at the beach, het zijn toch prachtige frisse kleurtjes?En de labelvellen mogen natuurlijk ook niet ontbreken.
Ook het nieuwe stencil van Bille is weer supergaaf met de cirkels.ook daar kun je weer allerlei kanten mee op.


Als kleine accessoire maar een flessenpost erop gemaakt :P incl  briefje in flesje


En de goudsbloem stencil blijft gewoon prachtig om te gebruiken op je kaart.
Vind ze nog steeds super schattig.


Dankjewel voor je bezoekje en tot de volgende x :)


gebruikte materialen:

6002/0713   polybesa A5  schelpvorm

6002/1472   Stans-debossmal - Lang takje

6002/1537   Snij-emboss stencil - Goudsbloem bloem

6002/1569   Stansmal - Bille's cirkels achtergronden

6011/0428   Labelvellen - Noor - At the beach

6011/0658   Papierset - Noor - Design - To the beach

6370/0076   Artificial Flowers - Besjes naturel

woensdag 17 juni 2020

The world is full of guys.............

Hallo allemaal 😊

ik heb weer eens een mannenkaart gemaakt voor vandaag 
want die mogen natuurlijk niet vergeten worden met een mooie kaart :D


Met het gave papierset Gentlemen of Fortune heb je ook voor deze kaart weer niet veel materiaal nodig om er toch iets gaafs/ stoers mee te maken doordat je met de verschillende motieven allerlei kanten op kan  :)


Uit collectie 4 van Joy!Crafts de stoere tandwiel stencils gebruikt en natuurlijk weer een pocket gemaakt aan de binnenkant van de kaart.


Het plaatje en de tekstlabels komen ook uit collectie 4
( 6011/0425   Labelvellen - Noor - Man's World )
Zo zie je maar dat je met weinig weer een gave kaart kan maken.:)

Dankjewel voor je bezoekje en tot de volgende x


gebruikte materialen:
6002/1458   Stans-debos-embosmal - Industrieel lijsten
6002/1474   Stans-debos-embossmal - No End Industriel rand
6011/0425   Labelvellen - Noor - Man's World
6011/0661   Papierset - Design - Gentlemen of Fortune
6500/0122   Tacky Tape 6 mm


maandag 24 juni 2019

Mannenkaarten :)

Hallo allemaal :)

afgelopen maand druk bezig geweest met de nieuwe lijn van Yvonne Creations.
het was een mooie gelegenheid om eens wat mannenkaarten te maken :D
want die mogen natuurlijk ook niet worden vergeten...............


gebruikte materialen:
YCPP10024 Yvonne Paperpad  
YCMC1001  Big Guys Mica+Achtergrond  
CD11327     Yvonne Creations knipvel 
Snij-embosstencil - Blauw Kantrand Cirkel 6002/1141  
jacobine linnenkarton grijs 25 artikelnr: 57525


gebruikte materialen:
YCPP10024 Yvonne Paperpad  
YCMC1001  Big Guys Mica+Achtergrond  
YCD10170 Dies - Yvonne Creations - Big Guys - Play to Win  
CD11326 3D Yvonne Creations knipvel 
jacobine linnenkarton cappucino 45 artikelnr: 57545
Joy!Crafts - Cut-embossdie - Noor - Border with swirls 6002/1197 


gebruikte materialen:
YCPP10024  Yvonne Paperpad  artikelnr: 
YCMC1001   Big Guys Mica+Achtergrond 
YCD10171    Yvonne Creations Stans  
CD11329 3D  Yvonne Creations knipvel 
Joy!Crafts - Snijstencil - Noor - Vintage Borders - June 6002/1289 


gebruikte materialen:
YCPP10024  Yvonne Paperpad  
CD11328 3D  Yvonne Creations knipvel  
YCMC1001    Big Guys Mica+Achtergrond  
jacobine linnenkarton donkerblauw 30 artikelnr: 57530
jacobine linnenkarton kerstrood 34 artikelnr: 57534
Joy!Crafts - Snijstencil - Noor - Border blauw 6002/1285 
gereedschapjes stans merk onbekend

dankjewel voor je bezoekje en tot de volgende x :)


woensdag 4 december 2013

It's Wednesday again, time for Heartfelt Creations :)


Project Instructions:
Other products: dark brown, brown and green Card stock (CS), vintage photo distress ink, hot glue gun, flatback pearls, lace, figure scissor, black memento ink

Instructions: Cut a 27 x 13,5  cm piece of brown cardstock and fold it to make a 13,5 x 13,5 cm card. Sponge the edges with vintage photo distress ink. Cut a piece of green cardstock 12,5 x 12, 5 cm, ink the edges and place it in the center. Choose a piece of nice paper from the Sun Kissed Paper Collection and cut the edges with a figure scissor. Ink the edges and place on the green CS. Cut from the Floral Ovals the second large oval also out of the Sun Kissed Paper Collection and ink the edges. Draw and cut the oval and use one of the stamps from the Classic Message PreCut Set. Adhere the inner oval to the Floral oval. Cut a piece of lace and attach it to the back of the Floral Oval and adhere it to your card. Cut and emboss 4 of the smallest flower and ink it with the Mini Vintage Floret PreCut Set, I used the vintage photo ink this time. Cut and emboss 2 Classic Leaf Dies. From one of the dies cut of some leaves. Place 3 of the flowers and the leaves under your Floral Oval and add a tiny flatbackpearl in the center of the flowers. For the inside of the card I cut a darkbrown piece of CS (13 x 6,5 cm) and also cut a matching piece from the Sun Kissed Paper Collection. I cut the top edge with the figure scissor and inked the edge. Only glue the bottom and the sides so you can put the tag in it. The tag was also cut from the Sun Kissed Paper Collection. I added 3 colors of organza ribbon and placed 1 one of the flowers with some leaves on the tag.


Project Instructions:
Other Products Used: Dark brown, brown and green Card stock (CS), vintage photo distress ink, hot glue gun, flatback pearl, bandage, black memento ink

Instructions: Cut a 29 x 12 cm piece of brown cardstock and fold it to make a 14,5 x 12 cm card. Sponge the edges with vintage photo distress ink. Cut a piece of green cardstock 14 x 11 cm,ink the edges and place it in the center. Cut a piece of dark brown cardstock 13,5 x 10,5 cm,ink the edges and place it in the center. Choose a piece of nice paper from the Vintage Floret Paper Collection and distress the edges with a 3d scissor. Ink the edges and place on the dark brown CS. Choose another piece of nice paper from the Vintage Floret Paper Collection and cut a piece of 8,5 x 8,5 cm and cut the edges with a fiure scissor and ink the edges. Cut from the Decorative Chateau Gate Die the doorway and ink with the Grand Portal PreCut Set and ink the egdes. Cut the small leaves 6 times ( 4 green ones and 2 brown ones) and ink the edges. Cut the window and cut off the swirly edges and place them under your vintage floret paper on both sides. Cut a piece of paper for the inner of the door. I have inked the paper first with brown and green distress ink then added my stamp from the Melodious Songbird PreCut Set. Add some bandage under the door and adhere everything. Cut and emboss 10 of the smallest flowers and ink it with the Mini Vintage Floret PreCut Set and create 2 flowers of 5 layers. For the inside of the crad I cut a dark brown CS of 14 x 11 cm and picked a die cut from the Vintage Floret Paper Collection.

woensdag 13 november 2013

2 new projects for Heartfelt Creations for this week


Products Used:
HCPC 3354 Classic Message PreCut Set
HCPC 3468 Tattered Blossoms PreCut Set
HCD 722 Tattered Blossoms Die
HCD 702 Decorative Butterfly-Border Die
HCDP1 226 Delicate Asters Paper Collection

Project Instructions:
Other products: Lila and purple Card stock (CS), dusty concord distress ink, hot glue gun, lace
Instructions: Fold a 27 x 13, 5 cm piece of lila cardstock and fold it to make a 13, 5 x 13, 5 cm card. Sponge the edges with dusty concord distress ink. Add a 12 x 12 cm purple CS to the center of the card front. Choose a card panel from the Delicate Asters Paper Collection, cut in 4 equal pieces (6 x 6 cm) and adhere it to the center of the card front. Cut and emboss the 2 smallest flowers in lila CS from the Tattered Blossoms Die and ink them with dusty concord distress ink and use the Tattered Blossoms PreCut Set. Cut and emboss from the Decorative Butterfly-Border Die the corner and ink it also with dusty concord distress ink and place in the top right corner. Glue the flower on the corner with the hot glue gun. Cut and emboss from the Decorative Butterfly-Border Die the butterfly, ink it with dusty concord distress ink and place in the center of your card and add 3 tiny flatback pearls.
For the inside of the card I cut a triangle and distressed the edges with my 3D scissor and inked it with dusty concord distress ink. I used a piece of lila lace for the edge and glued it with the hot glue gun. Choose a die cut from the Delicate Asters Paper Collection and add a nice stamp text. I used the Classic Message PreCut Set. Add a tiny flower in the corner of your triangle.


Products used:

Project Instructions:
Other products: Ranger distress ink vintage photo, leaves die, creme lace, Joy! Crafts - Noor! Design Vintage Borders swirl leaves, free clock printable, vintage buttons, gauze bandage, Joy! Crafts -Cutting & Embossing stencil round nr. 1
Instructions: I have printed a card shape (the base card and a smaller one) and cut it from kraft paper. The size of the card is about 12 x 12 cm. I cut the 2 tickets from the paper collection and added the clock. The bow was made using the mini bowdabra.

maandag 29 juli 2013

Vintage Kaart

Hallo allemaal,

dit weekend heb ik me eigen maar weer eens opgesloten in mijn freubelhokje om een vintage kaart te maken voor de hobbystudio. Na een week hard werken met 30 graden heb ik toch geen zin om sweekends de deur uit te gaan:)
Ben wel aan het aftellen nu.nog 5 werkdagen en dan heb ook IK eindelijk vakantie.whoohoo!


dit zijn onder meer de materialen die ik heb gebruikt:


de grote bloemen heb ik dit keer zelf gemaakt omdat het zo heel af en toe leuk is om zelf bloemen te maken maar wel erg tijdrovend :)

bedankt voor het kijken en tot de volgende keer!
lieve groetjes Sandra

zondag 21 juli 2013

Gastdesigner Kreatrends white on white

Een tijdje geleden werd ik gevraagd om als gastdesigner een kaart te maken voor Kreatrends.
Daar ben ik vanmiddag dus druk mee bezig geweest ondanks de hitte pppfff echt wel warm.

Ik heb gekozen voor white on white omdat ik dat toch wel prachtig vind zo'n witte kaart.


* * * * * * *


de materialen die ik voor deze kaart heb gebruikt zijn:

kant
lint
verbandgaas
embossfolder van CC
plakparels
bloemen van I Am Roses
Fancy Flourishes van Cheery Lynn
blaadjes van Joy!
vlindertje van Joy!


Met deze kaart wil ik ook graag meedoen aan de volgende challenges:

Studio Light Wedstrijd Vintage (gebruik kant en vlinders)

Cards en Challenge / Challenge #28 ( gebruik lint en bloemen)

Bedankt voor het kijken en tot de volgende keer:)

donderdag 21 maart 2013

4 nieuwe kaarten

ook weer 4 kaarten gemaakt deze week, 4 x hetzelfde patroon maar 4 verschillende looks:)


zondag 3 maart 2013

dubbele zigzagkaart

ik zag laatst deze kaart staan op Jolanda's Crea blog en ik vond hem zo leuk dat ik ook maar een poging heb gewaagd:)


maandag 12 november 2012

Kaarten

nog een beterschapskaart gemaakt.ditmaal met een patroon van Sandra's Scrapsels jaja :) vind het altijd supergaaf om haar patronen te gebruiken.:))
Deze is voor mijn ouders. die kunnen ook wel een beterschapskaart gebruiken dus mam hou van de week je brievenbus maar in de gaten  lolll
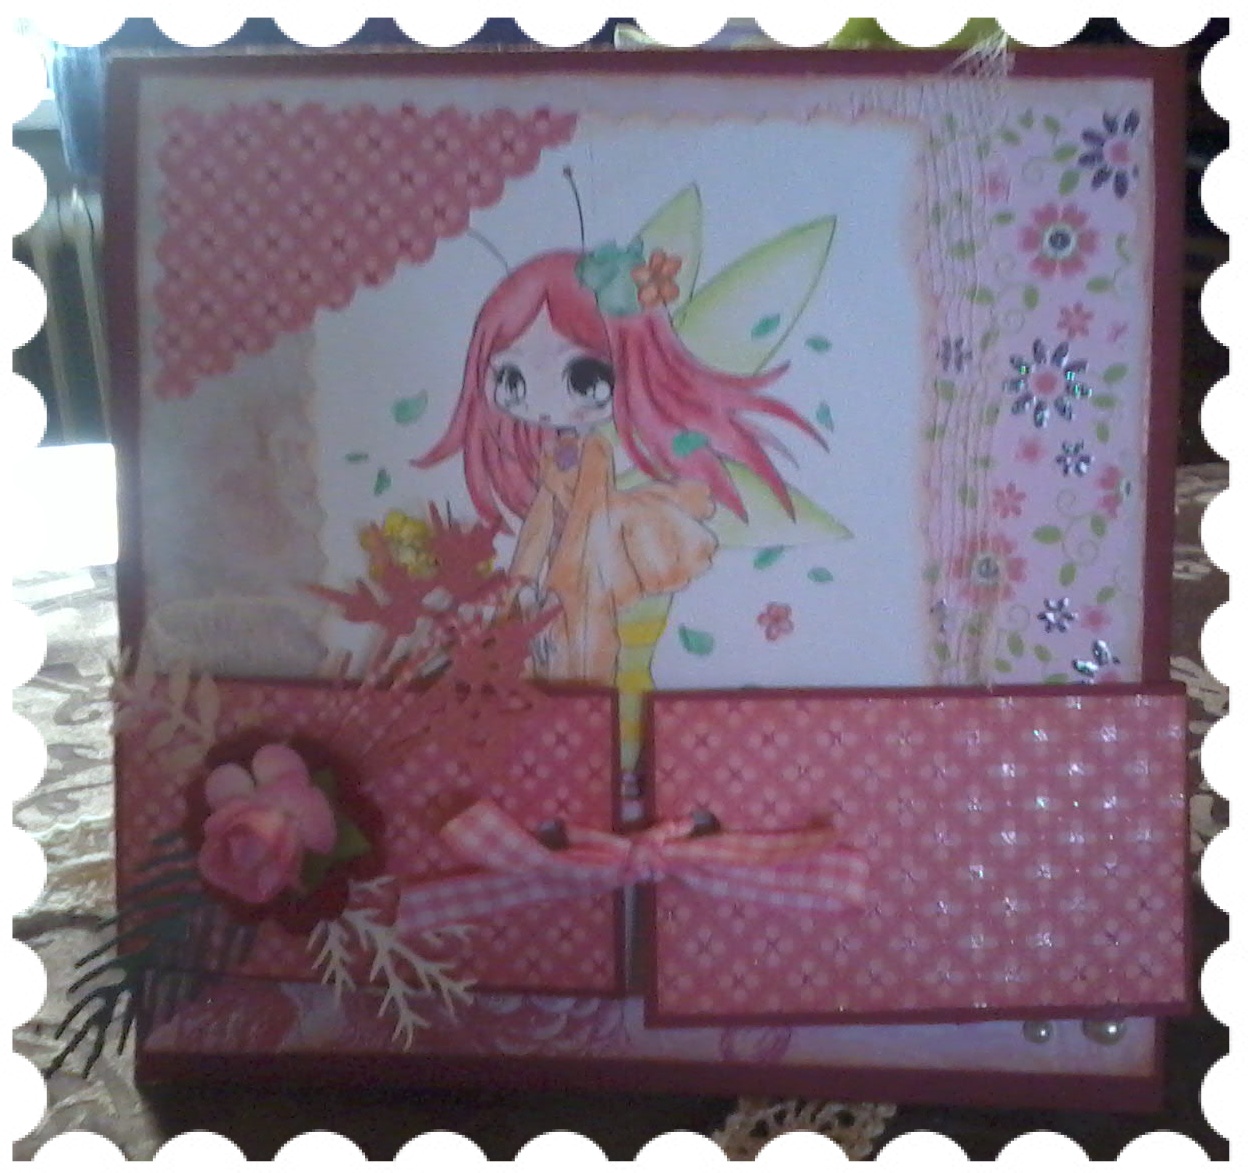
ps: mijn excuses voor de slechte kwaliteit foto's. heb ditmaal met mijn telefoon genomen maar is ook niet echt geweldig :(


In opdracht van mijn moeder heb ik vandaag een beterschapskaart gemaakt voor mijn tante.Die zit nogal vreselijk in de lappenmand op het moment.Mam, ik hoop dat je hem mooi vindt,zoja dan gaat ie morgen op de post richting jou:)


Dit weekend weer even bezig geweest met 2 nieuwe kaarten.Heb veel Noor !Design mallen gebruikt en uiteraard weer zelfgemaakte bloemetjes.papier is van de action en ook de stempels zijn van Noor !.Bedankt voor het kijken maar weer:)


voor 2 speciale mensen gemaakt:)


kerstkaart nr 3 is ook af. heeft me wel weer een hele middag gekost :)


eindelijk maar eens een start gemaakt met kerstkaartjes maken.de eerste 2 zijn bijna af. op naar de rest :)