Posts tonen met het label box. Alle posts tonen

maandag 26 april 2021

Welkom lieve baby

 Hallo allemaal :)

Ik kon het niet laten om nog een creatie te maken voor een pasgeboren baby
met het mooie Anton Piek papier van Joy!Crafts


Dit keer heb ik een doosje gemaakt waar je weer een leuk
baby presentje in kan doen :)


Ook voor dit doosje had ik weer niet echt veel nodig
om er iets moois van te maken.


en jawel ook de pioenroos stencil van Joy!Crafts is weer aanwezig.
Samen met het gave takjes stencil.


Voor de binnenkant heb ik Bille's vierkante achtergronden stencil gebruikt
samen met 1 van de mooie Anton Piek plaatjes die ook bij het designpapier zit.


Beetje leuk aankleden met kant en voila....er kan een leuk kadootje in voor de kleine..


Dankjewel voor je bezoekje en tot de volgende x :)


gebruikte materialen:
6002/1514   pioenroos
6002/1571   Stans-debossing mal - Takjes met blaadjes
6002/1562   bille's vierkante achtergronden
6002/1604   border angel
6011/0670   Baby anton piek
6370/0076   Artificial Flowers - Besjes naturel


zondag 21 oktober 2018

Bloghop 21 Oktober

Hallo Allemaal :)

Vandaag is het weer tijd voor een nieuwe bloghop.
Onze dames zijn met de nieuwe artikelen van deze maand aan de slag gegaan en wat zijn er veel mooie producten uitgekomen.
Prachtige stencils voor de mooiste winterkaarten, met schaatsers en zelfs een Koek en Zopie tentje.
Dendennis is weer gekomen met 2 leuke karakters en dit keer ook 3 setjes accessoires om de leukste kaarten te maken.
Mery met leuke winterse randen en pinguins en nog mooie blauwe stencils van Noor!
Teveel om allemaal op te noemen, maar hieronder een prachtig overzicht!


Zeg nu zelf........... is deze nieuwe eenhoorn collectie niet droomachtig mooi??Ik was gelijk helemaal verliefdddddddd ook al heb ik dan geen kleine kinderen meer die fan zijn van eenhoorns maar ik ben zelf gelukkig wel fan van fantasy art( zoals te zien aan mijn blog header)


Ik wilde eerst een kaart maken met deze gave eenhoorn stans maar heb mij gelukkig bedacht om er een waxinekaart doosje van te maken :)


De prachtige zachte kleurtjes van het papier en het motief.tis in 1 woord fantastisch, dan heb je toch helemaal niet veel embellishments meer nodig? :) :)


Als iemand hier niet vrolijk van wordt dan weet ik het ook niet meer hoor :) 
Zou het haast aan mijzelf geven voor mijn verjaardag lolllll


De eenhoorn stans heb ik bewerkt met distressinkt, gewoon deppen met een sponsje en zorgen voor de juiste kleurcombinatie.De mooie nieuwe floristic art takjes en bloemetjes maken het geheel helemaal af.


Bij een bloghop, hop je van blog naar blog en laat bij iedereen een reactie achter.
Als je bij alle DT leden gekeken hebt, dan ga je weer terug bij het Joy!Crafts blog en laat je daar ook een reactie achter.
Onder degene die een reactie achter gelaten hebben bij alle dames, verloten we een leuke prijs. De winnaar maken we maandag 29 oktober bekent. Hoppen jullie gezellig mee?

Bedankt voor jullie bezoekje en niet vergeten langs de andere dames te hoppen. :)


gebruikte materialen: 
6002/1170 - Snij-embosstencil - Magic Unicorn
6011/0596 - designpapier Dreaming in the sky
6002/1169 - Snij-embos-debosstencil - Floristic Art
6011/0383 - Papier- stansblok - Lavendel
6002/0537 - Cut- Embosstencil - Frames blauwe met swirls
6002/1124 - Snij-embosstencil - Bloemenrand barok
6500/0122 - Tacky Tape 6 mm
6500/0215 - Tackylijm
6003-1004 - Snijmal Noor rond 4


woensdag 16 juli 2014

New Heartfelt Creations Inspiration :)


Products Used:
Cut Mat Create 1A Die
Cut Mat Create 1B Die
Cut Mat Create 2A Die
Cut Mat Create 2B Die
Cut Mat Create Paper Collection
Summer Glory PreCut Set
Summer Song PreCut Set
Vines and Blooms PreCut Set
Birds and Blooms PreCut Set
Everyday Blooms PreCut Set
Classic Rose PreCut Set
Arianna Blooms PreCut Set
Arianna Blooms Die
Arianna Blooms Bouquet PreCut Set
Bella Rose Die
Bella Rose Leaves PreCut Set
Arianna Lace Die
Paper Blossoms Molding Mat
Paper Blossoms Tool Kit


Other Products: Victorian velvet distress ink, tumbled glass distress ink, vintage photo distress ink, chipped sapphire distress ink, glue, hot glue gun, black memento ink, bandage, flatback pearls, zipper, handmade headpin, embellishments, acrylic paint.

Instructions: This time I decided to alter a cigar box :)) of course it will be stuffed with some sweets for the HC staff :P I painted the box first with acrylic paint and sprayed it with blue dysolusions spray, the inner box was also painted but no spray used. Then it is time to cut matching pieces from the Cut Mat and Create Paper Collection. As usual I inked all the edges first (also from the cigar box) I decorated the outside and inside of the box with the paper collection, cut a lot of flowers from the Arianna Blooms Dies and cut some decorative dies from the Cut Mat and Create Dies collection. For decoration I also used a small zipper and created a headpin. For the inside of the box I used lace for the inner edges.

woensdag 9 juli 2014

Heartfelt Creations Wednesday again :) time for Cut, Mat and Create.........


Other Products: Paper mache box, vintage photo distress ink, glue, hot glue gun, black memento ink, bandage, ribbons, flatback pearl, lace

Instructions: The paper mache box has been decorated on the outside with different pieces of the Cut Mat and Create Paper Collection. The edges of the box are inked with photo distress ink, just like the papers. For other decorations I used some die cuts from the paper collection, lace and bandage and a tiny bow of organza ribbon. Cut some flowers from the Arianna Blooms Dies and cut some swirls and leaves from the Cut Mat and Create dies collection. Now you can go ahead and adhere all the papers and decoration.

woensdag 30 april 2014

2 Heartfelt Creations projects this week :D


Project Instructions:
Other Products: Paper mache boxes, vintage photo distress ink, glue, hot glue gun, black memento ink, dew drops,lace, flatback pearl, pearl strings, bandage, organza ribbon, cute little plane charm, ribbon with text.

Journey Box Trio Instructions: This time I have decorated 3 paper mache round boxes. All you need to do is find the paper you like the most from the Celebrate the Journey Collection, cut pieces that match around the boxes and ink the edges. Choose some die cuts and make them match for the lid of the boxes, ink the edges of all the papers you are using. Cut some flowers and leaves from the Daisy Patch Die and ink them also at the edges. I also used several die cuts and used them for the side of the large box. Find some lace and other embellishments you like and decorate to your own needs


Project Instructions:
Other Products: Aqua and brown card stock (CS), vintage photo distress ink, glue, hot glue gun, black memento ink, scrappersfloss, bandage, foam adhesives, organza ribbon, dewdrops.

Instructions: The card size for this project is 5.9" x 4.7" in aqua cardstock. Ink the edges with vintage photo distress ink. Cut a smaller panel from brown cardstock and ink the edges. Cut a smaller panel using the Celebrate the Journey paper collection, Die cut a panel from aqua CS using Decorative Labels Eight and ink the edges. Die cut some flowers from the Daisy patch die in 2 colors CS and stamp with the Daisy patch flowers precut set and ink the edges. Die cut 2 tags from the Luggage and Tags Die and ink the edges. Stamp the sentiments and use the corresponding die to cut from the Once Upon a Time Die. Adhere them with foam adhesives. Now you can decorate and adhere all the layers and apply to your card.

woensdag 16 april 2014

Heartfelt Wednesdag again with Celebrate the Journey Collection!


Products Used:
HCD 745 Luggage and Tags Die
HCPC 3597 Luggage and Sentiments PreCut Set
HCDP1 242 Celebrate the Journey Paper Collection
HCPC 3598 World Map PreCut Set

Project Instructions:
Other products: Aqua and brown card stock (CS), vintage photo distress ink, glue, hot glue gun, black Memento ink, ribbon, fasteners, corner embellishments, charm, bandage, crispy lace, chipboard, matchboxes

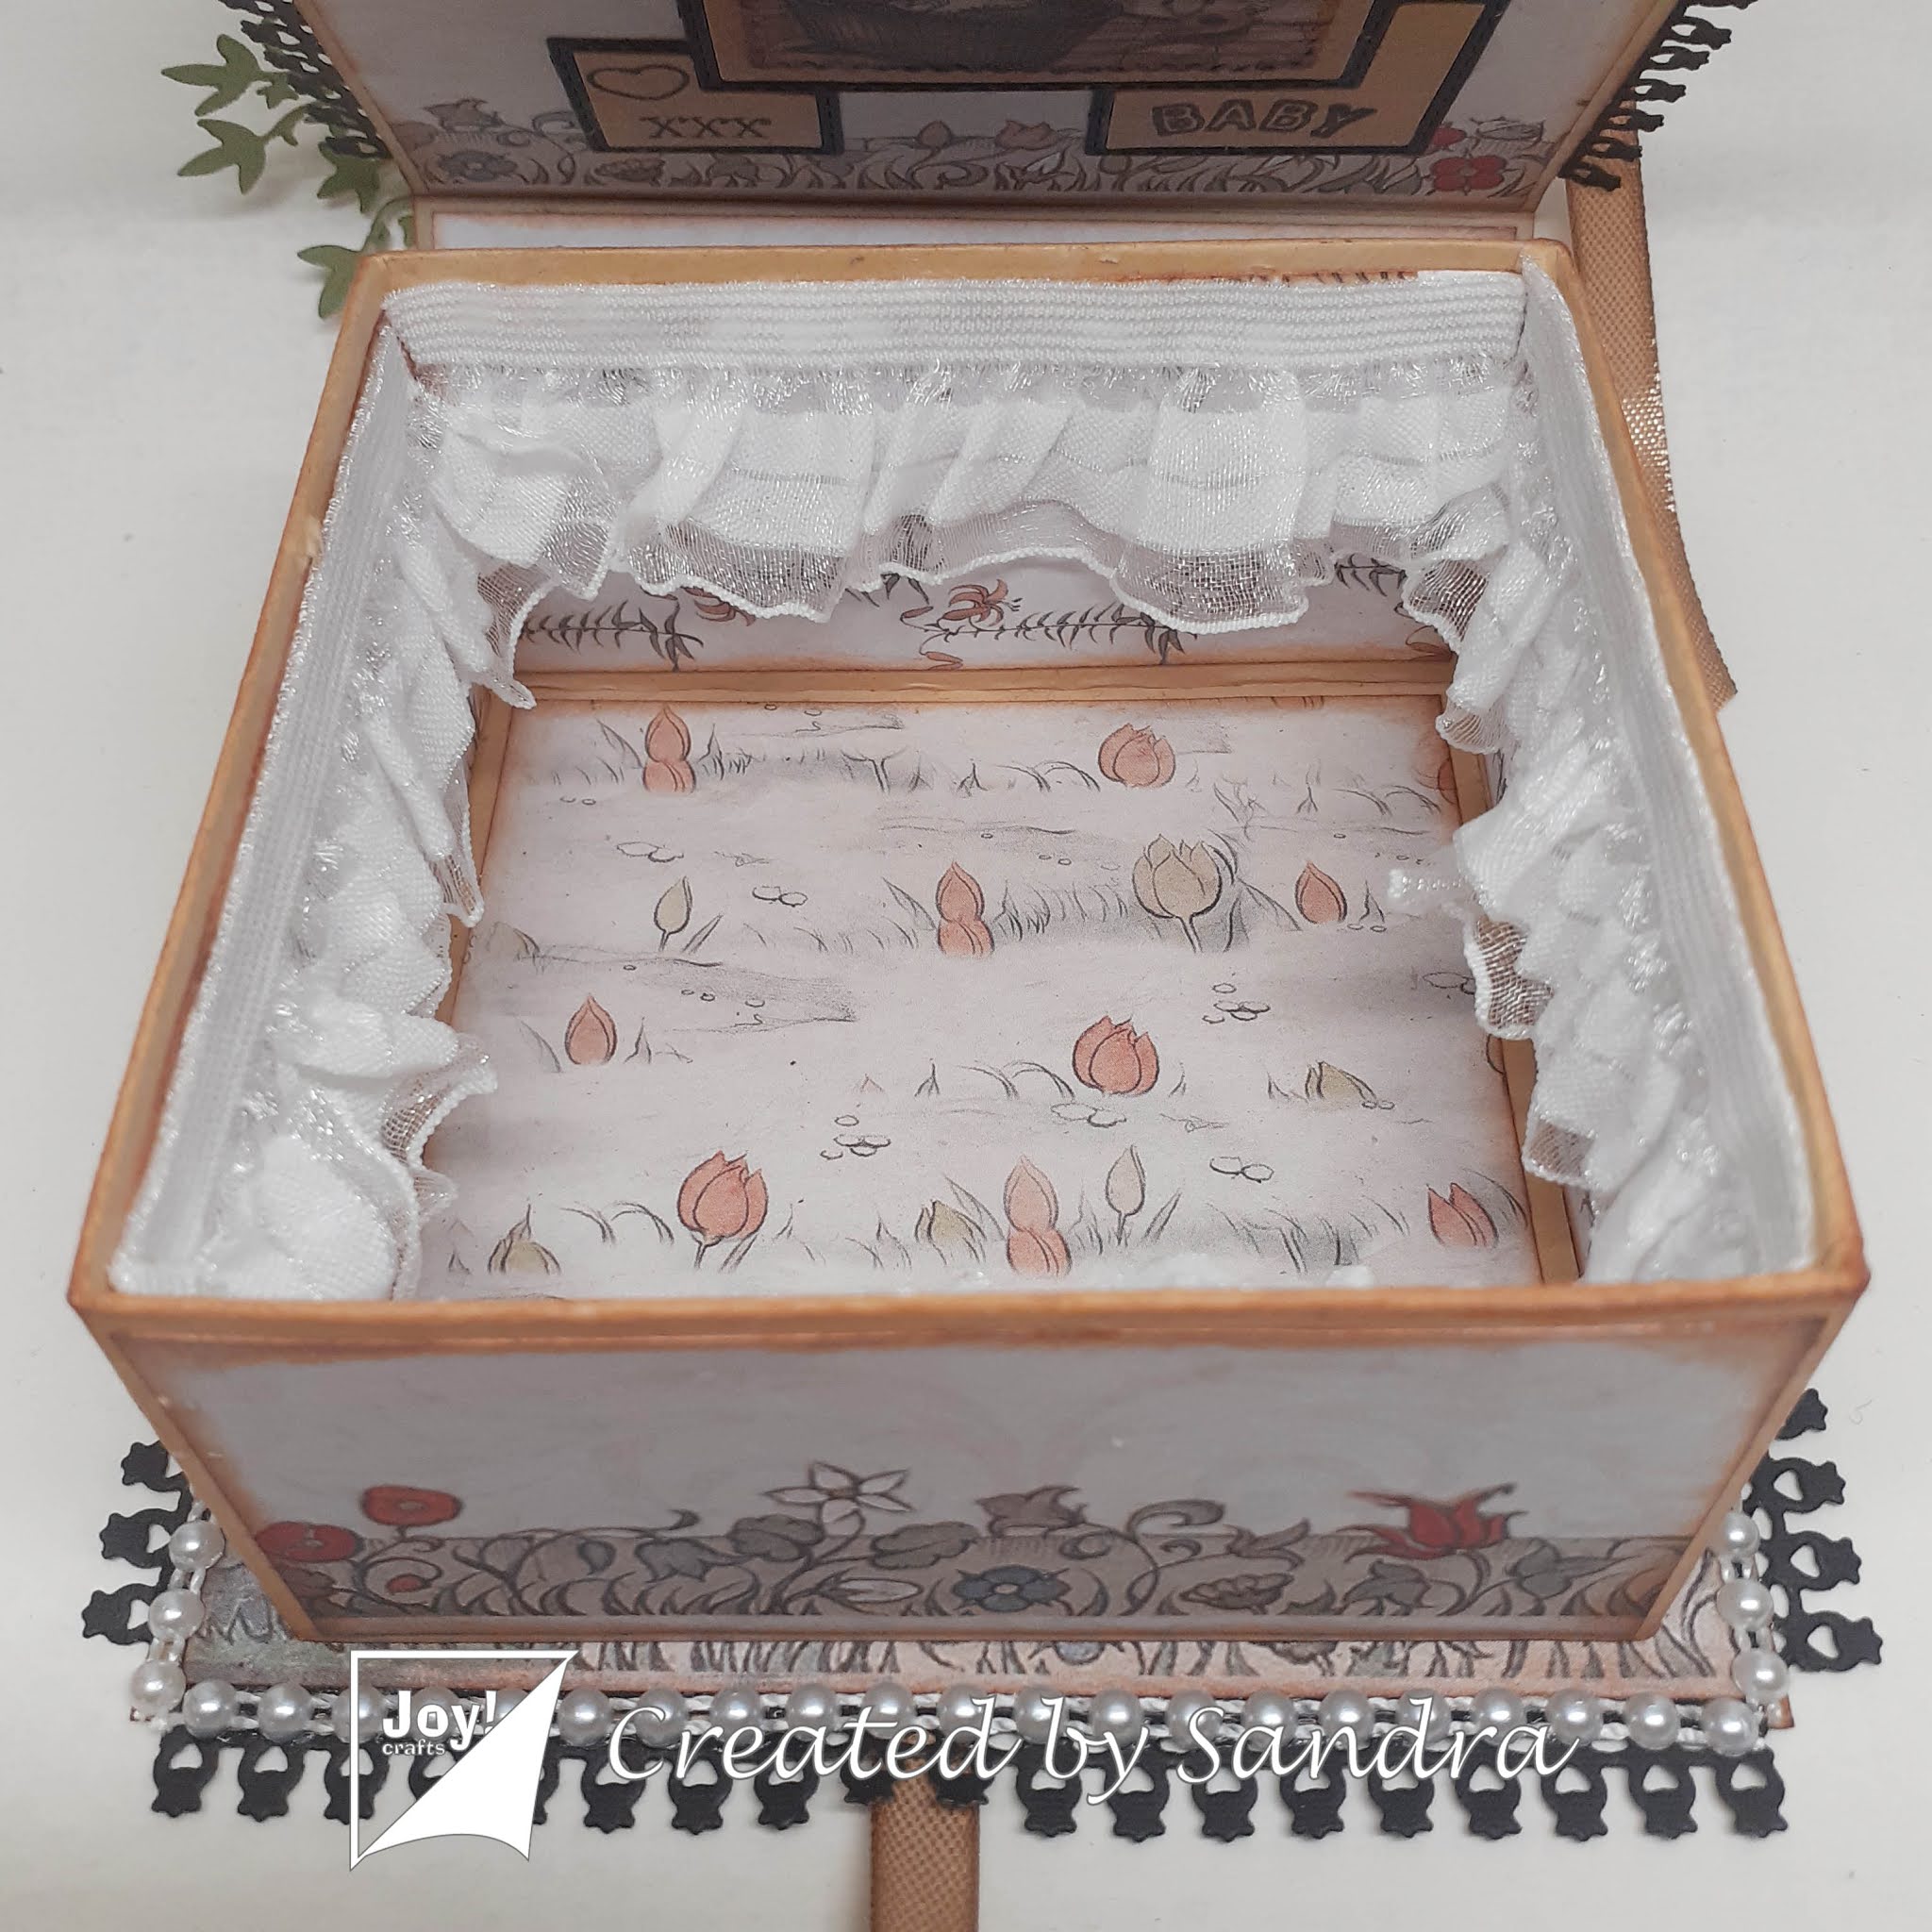
Instructions: This time I created a drawerbox/easelcard. There is not really a tutorial for it. You can create this in any way you like. I decided to use 2 large matchboxes and glued chipboard on the bottom and the top. That makes the box about 5.1" x 4.3" (13 cm x 11 cm) Before I added the chipboard I inked the edges first as usual :) For the "easel" I used the aqua cs 9.05" x 5.1" (23 cm x 13cm) and scored 2 folding lines at 2.55" and 2.36" (6,5 cm x 6 cm) Before glueing the easel base decorate it first with your favorite paper from the Celebrate the Journey Collection. Ink the edges. Then glue the large part from your easel at the top of your box. Cut a piece of design paper slightly smaller than your base to fit the top of your box. Ink the edges and glue. The suitcase was created with the wonderful Luggage and tags Die. I cut it 2 times, followed the scored lines and glued it so you have a half of a "box". Do this of course with both the dies you cut. From one of the dies I cut off the "belts" otherwise it will not fit nicely if you put both halves together. Of course I inked the suitcase first before adding them together, all I did was use a thin piece of bag paper to hold the bottom of the suitcase together. Then I glued the "belts" to the other half so the suitcase is "closed" do not forget to ink the suitcase first with the Luggage and Sentiments PreCut Set before putting it together. Now you can glue your suitcase at your box so you use it for your easel base to "hold". The sides from the box have also been decorated with the design paper, and so are the inside and outside of the drawers. For the knobs I used fasteners.

To create your card: Cut a piece of aqua cs 5.1" x 4.3" (13 cm x 11 cm) and ink the edges. Yeah I know I sound like an inkaholic. Cut another piece of brown cardstock 4.5" x 3.7" (11,5 cm x 9,5 cm), ink the edges. Cut a piece of design paper slightly smaller than your brown cardstock, ink the edges. Choose one of the nice die cuts from your paper (or the one I used) and ink the edges. Create a tag with the Luggage and tags Die, cut out one of the tags from the dp paper and make it fit to your tag die and ink the edges and finish with some organza ribbon.

Use the Luggage and tags Die for the small ticket and cut out one of the tickets from the dp paper. Now you can glue everything together, before adding your base card to your easel base, make sure you finish and decorate your card first, when finished glue it to your easel base. Decorate with some nice corners and a charm and dew drops et voila, you are

woensdag 26 maart 2014

Heartfelt Creations Wednesday again :)


Products Used:
HCD 736 Classic Leaf Die
HCPC 3546 Classic Leaf PreCut Set
HCD 734 Sun Kissed Fleur Die
HCPC 3533 Sun Kissed Fleur PreCut Set
HCPC 3594 Time Sentiments PreCut Set
HCPC 3592 Timeless Clock PreCut Set
HCPC 3593 Numeral Clocks PreCut Set
HCD 744 Once Upon a Time Die
HCDP1 241 Once Upon a Time Paper Collection

Project Instructions:
Other Products: Creme and brown card stock (CS), vintage photo distress ink, lace, hot glue gun, black memento ink, ribbon.

Time Birthday Box Card Instructions: For this beautiful Birthday box card I bought the template from Sandras Scrapsels here, she has wonderful templates in pdf files AND SVG cut files, plus it is also in english and you can pay with paypal so not just for Dutch costumers. Since I unfortunately still do not have a Cameo I had to cut all the pieces with a scissor so it takes a little bit more time to finish such projects. Once I cut all the pieces, inked the edges and glued everything together I used the beautiful Once Upon A Time Paper Collection on every side I could use. For the inside box I used 3 clocks from the Once Upon A Time Die and glued them on the bottom right together. For the flowers I cut and embossed some flowers from the Sun Kissed Fleur Die and inked them with the Sun Kissed Fleur PreCut Set. For the leave I used the Classic Leaf Die and Classic Leaf PreCut Set. For the bow I used several materials and made a bow with it, with the mini bowdabra.

woensdag 5 maart 2014

Explosion of Inspiration at Heartfelt Creations :)

This time I wanted to honor my fellow Design Team members at Heartfelt Creations. 
They all make so many stunning projects!!


Products Used:
HCPC 3551 Holly Berry PreCut Set
HCD 738 Ornamental Add On Die
HCD 726 Delicate Asters Die
HCPC 3494 Delicate Asters PreCut Set
HCDP1 240 Raindrops on Roses Paper Collection
HCD 743 Raindrops on Roses Die
HCPC 3587 Raindrops on Roses Window PreCut Set
HCPC 3584 Lady Rosalie PreCut Set
HCD 742 Majestic Blooms Die
HCPC 3578 Majestic Morning Background PreCut Set

Project Instructions:
Other Products: Brown and creme cardstock, vintage photo distress ink, hot glue gun, flatback acryl hearts, lace, bandage, black memento ink, glue.

Delicate Asters Exploding Box Instructions: You can follow these instructions to make your own beautiful exploding box. I had found another tutorial but can not remember where. Of course you can choose how big or small you want your exploding box to be. This is a link for those who like inches better. Before I layered and glued the 3 cross shapes I decorated them first on all sides with the Raindrops on Roses Paper Collection, and of course you should know by now I inked all the edges with vintage photo distress ink. For decoration you can use of course all kind of images, stamps and/or photos, I wanted to surprise my DT members with their photos in this exploding box. I added some bandage underneath the photos and yes I even inked all the edges of the photos. For the corners, I cut the doily from the Raindrops on Roses Die and cut it in 4 parts and placed them in the corners. For the center of the box, I used the Lady Rosalie PreCut Set. Add a flatback acryl heart in each corner for the finishing touch. The lid has been decorated with lace, a die cut with text from the Raindrops on Roses Paper Collection and flowers made with the Delicate Asters Die and Delicate Asters PreCut Set. The leaves are from the Ornamental Add On Die and the Holly Berry PreCut Set.

woensdag 22 januari 2014

Heartfelt Creations DT time again :))

This time I created a cute little drawerbox with card, made with matchboxes and chipboard using the wonderful Majestic Morning Collection. :)


Project Instructions:
Other products: Card stock (CS), vintage photo distress ink, acrylic flowers, pearlen pen, hot glue gun, lace, black memento ink, ribbon, matchboxes, chipboard

Instructions: For this project you need 4 matchboxes and 2 pieces of chipboard of 5,6 x 5,9 inch. Cut 2 pieces of paper and glue it to the chipboard( bottom and top)ink all the edges with vintage distress ink. Cut matching pieces of paper for the inside of the matchboxes and the sides. Glue them all and ink all the edges of the matchboxes. Glue the 4 matchboxes on the bottom of the chipboard and once dry, glue the other piece of chipboard on top of the matchboxes. Cut a piece of cardstock of 10 5/8inch and fold it this will be your card. Ink the edges first. Before you glue the card make sure you adhere a piece of ribbon first under your card. Cut a smaller piece of designpaper of the Majestic Morning Paper Collection and use the Majestic Morning Background PreCut Set. Before you glue it make sure you adhere the second piece of ribbon first( so this will be between your card and your piece of design paper)that way you can close your card by making a bow:) Cut and emboss several flowers using the Majestic Blooms Die and ink them with the Majestic Collage PreCut Set. For the leaves I used the Ornamental Add On Die. Decorate your card with the flowers, lace bow, leaves,die cut or anything you like :) For the inside of the card I made 2 triangle shaped pockets for the left and right so you can put a giftcard in it or money or anything small:)